Wednesday, April 27, 2011

Feeling Arty


Before the baby arrived, I took nesting to another level.  It is one thing to clean out the closets and freeze casseroles, but my need for projects to occupy my pregnant time really took over.  You'll remember the topiary project, new drop cloth curtains, and dining room mini makeover to name a few.  Well believe it or not, there were a few more that I didn't get a chance to write up before the little diva arrived.  One such project was the art wall in my living room.

Gallery/Art walls are the latest must do project in the blog world. To be honest, I really thought this project was just too much work and was on the way back burner. Since the little miss decided to wait a few extra days, I was left with no choice, but tackle the wall or face pregnancy frustration.  The picture above is what our living room looked like when we first saw the house. You'll notice the mirror on the left wall, which is covering a high electrical outlet.


Since I already had a mirror above the fireplace, I rematted and framed a Charleston print to cover up the offending outlet.  Over the next few months, I could never shake the feeling that the wall wasn't complete.  Enter the art inspiration.

I gathered a bevy of random photos, memorabilia and wall accessories to try out.  As with any wall placement, I tinkered around with the placement a good bit and above is where I landed.


I used newspaper templates to space out on the wall and then set to hammering.  I futzed a little more with frame options and placement before I was really happy with the end result.

Gallery Wall Art  

Wednesday, March 16, 2011

Lemon Obsession


 I love lemons.  In fact, I love them so much I bought a lemon tree!  It's growing in my sunroom and has 4 little blossoms on it.  Who knows if I'll actually get fruit from it, but I'll take the delicious aroma in the meantime.  While I was out in blogosphere the other day, I found a recipe for lemon cupcakes with lemon icing.  Mmmm lemony icing!  After a few weeks of home projects, it was time to get back to trying out some recipes.  I followed this one to the T up until the garnish part.  In honor of St. Patrick's Day and simplicity, I decided to forgo the Glazed Lemon Peel and just garnish with some green sprinkles.


Along side a glass of cold milk, they were delicious and are happily at home in The Binder.  Side note:  While I was letting the butter come to room temperature, one stick mysteriously disappeared.  I'll give you one guess who the culprit was.

Tuesday, March 15, 2011

Happy Birthday Manning!


Monday was Manning's 1st birthday.  I'm not one to let any birthday slide, human or pet, so in honor of the big occasion, I headed over to See Spot Eat.  They have a wide array of treats and toys.  Their treats are very reasonably priced and you can even custom order a cake if time & budget allow.  I opted for just a few dog friendly sweets. 


Manning was happy to scarf down his treats before playing a few rounds of tug-o-war with Mr. Diva.

Monday, March 14, 2011

Drop Everything


I promised more crazy projects and I hope this one delivers!  With all these home improvement blogs out there, you really have no excuse for boredom and a major one for procrastination.  Enter A Soft Place to Land.  I'm really not sure how I discovered this one, but loved the drop cloth curtains.  The no-sew aspect put me over the edge since I don't have a sewing machine.  I hit up Lowe's and picked up a few drop clothes to try.  At $8 a pop, I figured this project was an inexpensive adventure.   


After pulling them out of the bag, I tossed them in the washing machine to pull out any potential shrinkage, tossed them in the dryer and finally pulled them out a tad damp to iron.  Then, I folded over part of the top portion so a) I wouldn't have to hem and b) I could have a nice edge for my ribbon (acquired from Joann's).


I guess this is ribbon or perhaps a notion whatever that means. 


After all the panels were painstakingly ironed, I used some fabric glue to adhere the navy blue notion.


It didn't take long to dry, which meant my before and after was nearing completion.  I futzed with the curtains to make them lay just so and tada here's my after!


At about $10-11 per panel, I'm definitely pleased with the finished result.  You can't find curtains that cheap at Target!

Next up: I hear Martha calling and it's time for another recipe or two.

Wednesday, March 9, 2011

Curtain Call

Third times the charm for my dining room centerpiece update.  A few days ago, I made the trek out to Home Goods (my favorite) in search of a long bin and a few other project materials (more on that in future posts).  As usual HG didn't disappoint, I found a planter in just the right size, but not the right color, which isn't a problem if you can spray some paint. 


I still had some black paint leftover from the topiary project.  So I did a quick sand over the bin to rough it up and followed that step with 2 coats of black spray paint.  After a quick trip to the greenhouse, here's our new centerpiece and the plants can be easily adjusted to the season or holiday should the mood strike. 


Since I was finally on a roll, I decided to tackle window treatments as well.  Ever since we took down the front magnolia, I've noticed a lot more light in the dining room hence the new need for curtains.  My first inspiration came from The Yellow Cape Cod blog, but all that non-sewing sounded like a lot of work.  I really love the stripes and thought certainly I can find them somewhere online.  Big wrong!  After searching high and low, I went to plan B: Damask.


While I love the look, the pattern competed with my swirly chairs, so back to the drawing board.  I decided all black might just work.  Plus, I was ever so tired of looking for the illusive stripe. I picked up a few panels from Target (much cheaper than the Pier 1 option), ironed and hung.  I quickly noticed that they were a tad short, so I pulled out the hem, re-ironed and viola!  Dining room complete! (Diva note: I seriously have a new appreciate for my iron.  It's amazing what a piece of metal can do with some steam!)


Next up:  DIY Living Room curtains (or so I hope)!

Tuesday, March 8, 2011

There's always a silver lining!

I've been keeping myself pretty busy pursuing home blogs and becoming obsessed with all these seemingly easy projects out there. Seriously, you're going to think I'm crazy with some of these projects I have lined up for the coming weeks! Thankfully, these projects can easily be pushed to the back burner when little Miss Diva arrives. But back to the tasks at hand!  While I was shopping for topiary pots, I stumbled upon this cute bowl at a thrift store. 

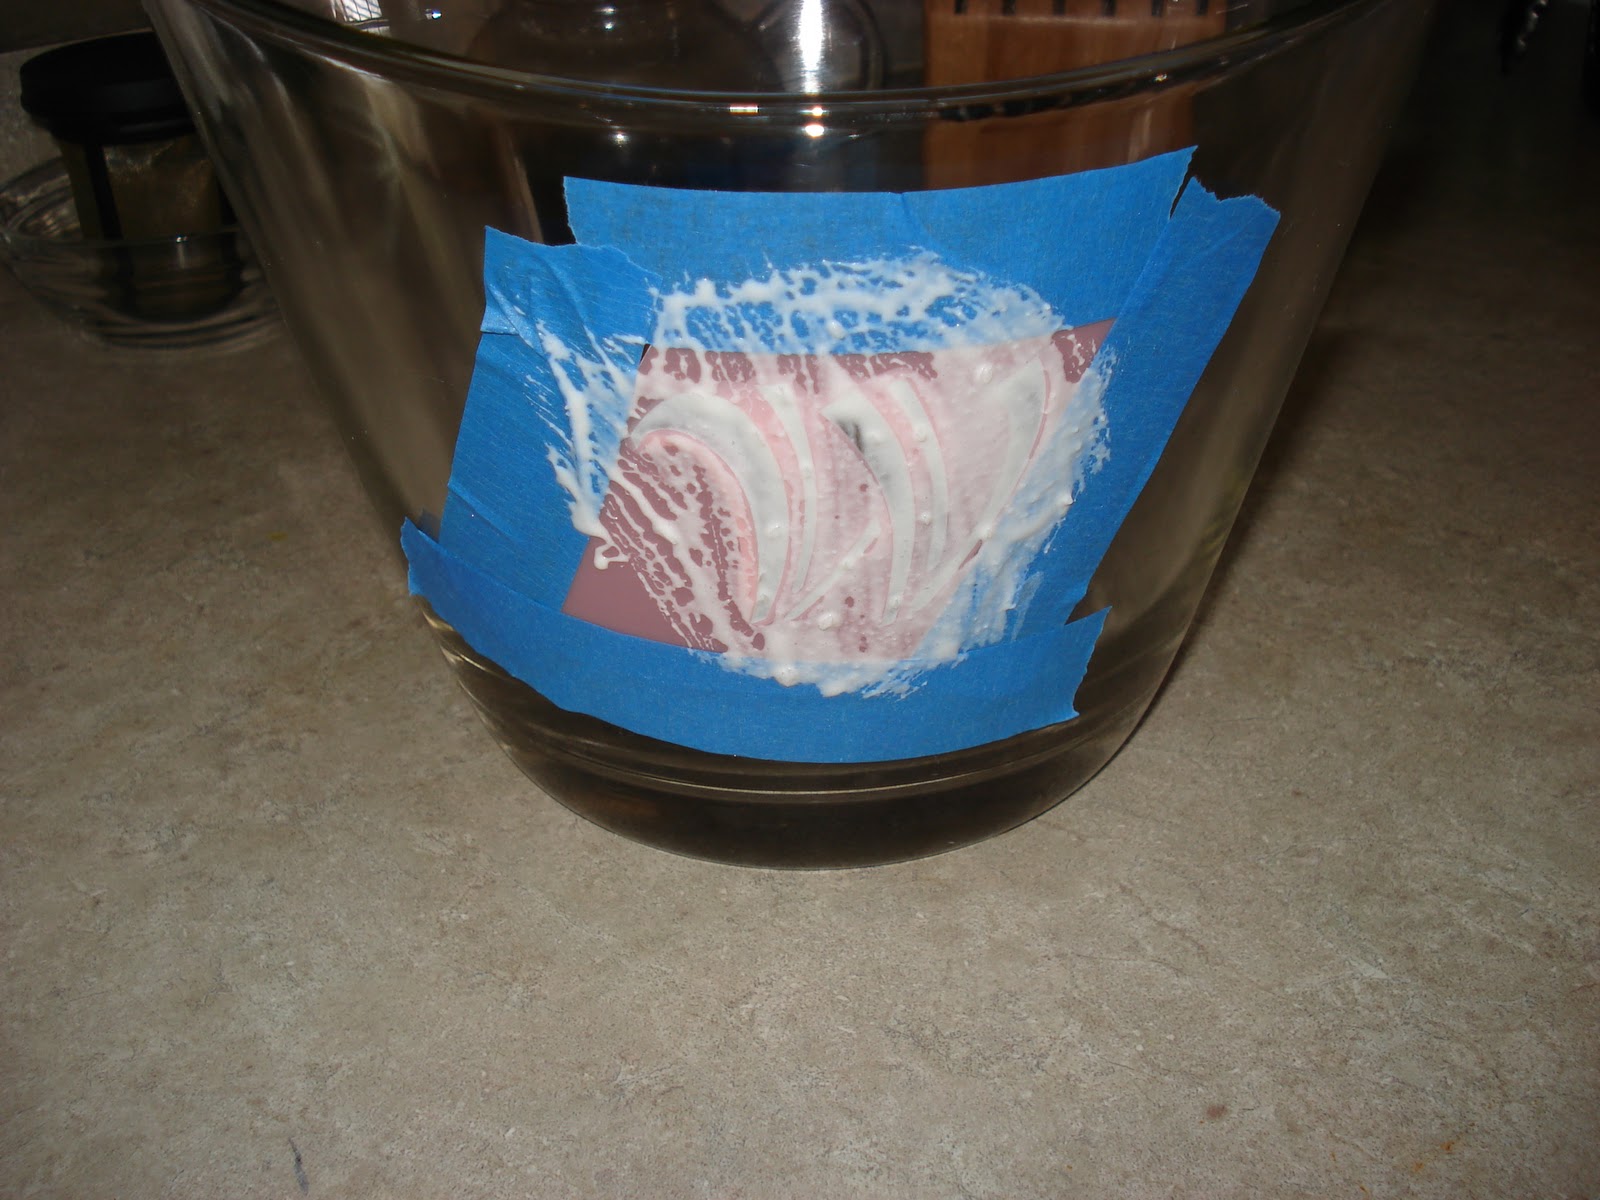
Immediately, I liked the fun shape and thought it might be the perfect start for this silver leaf project.  Again another potential for my dining room table.  With bowl acquired, I made the sabbatical out to Joann's in search of a nice W stencil. 


The etching process was pretty simple.  I used some painter's tape I had on hand to secure the stencil and then painted on the etching cream. 


Wait 30 minutes and then wash off.  I love the ease of using etching cream, and definitely plan to try it again; however, I've learned that I need a more straight cut stencil with no room for the etching cream to get between.  Perhaps something like this one.  You live and you learn, right?


Next, I taped off a 1" section around the bowl's rim for the silver leaf.  Apply the silver leaf glue.  Wait 30 minutes and start applying the silver leaf. I smoothed with my finger, but will definitely use a small sponge brush next time. 


As they say in Clueless, it's a total Monet.  Good from far, but far from good.  I've hidden it in my china hutch, where the imperfections blend in with my silver rimmed crystal and china. 


Next up:  The continued hunt for a dining room centerpiece.

Friday, March 4, 2011

Greens to Envy


A few weeks ago, I was flipping through the Memphis Junior League Cookbook...always on the prowl for tasty new recipes.  I stumbled upon a Caesar salad like recipe, Salade Parmesan.  Since my energy level is hard to predict these days, this seemingly easy recipe seemed like a great way to start my king cake dinner.  It's simple to prepare and can be assembled ahead of time.  All you need to do right before serving time is toss.  Who doesn't love an irresistible salad!  Eater beware: This salad might be in your future next time you dine at Chez Diva!


Salade Parmesan
from Heart & Soul by the Memphis Junior League

5 T Parmesan cheese, grated and divded
¼ c Olive oil
2 T lemon juice
1 t dry mustard
1/2 t pepper
2 cloves garlic, minced
Dash salt
10-12 c torn salad greens

In a large salad bowl, combine 3 T Parmesan cheese through salt.  Top with salad greens.  If desired add croutons, walnuts,etc.  Toss well.  Sprinkle with remaining Parmesan cheese.  Serve immediately.

Serves 8-10. 


Related Posts Plugin for WordPress, Blogger...
 
Template: Blog Designs by Sheila